Some of the most important editing shortcuts to know when making the switch from Avid Media Composer to Final Cut Pro X.
As there are many different editing concepts in Avid MC vs FCP X, it makes sense to have a tighter look on the main differences of the two applications. Here are some main hurdles you might step over when switching from Avid MC to FCP X.
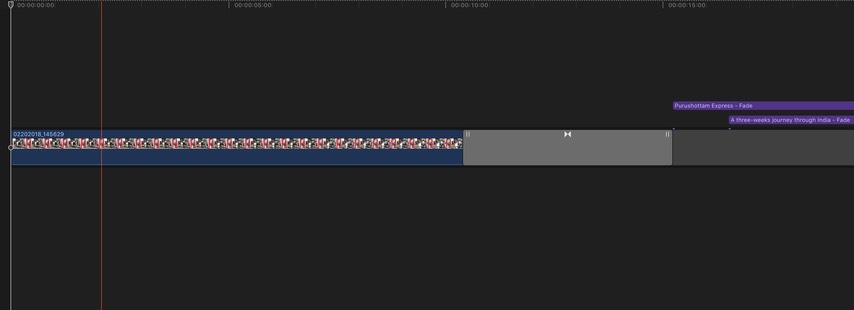
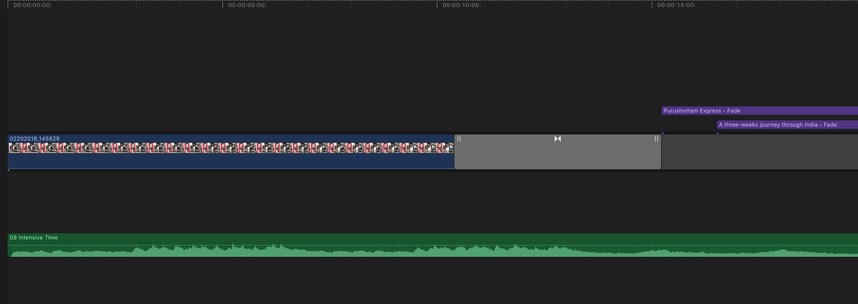
No 1) Normally clips end up in the Primary Storyline as default. As there are no tracks, attach clips below and above the Primary Storyline (for e.g. music) easily with Q.
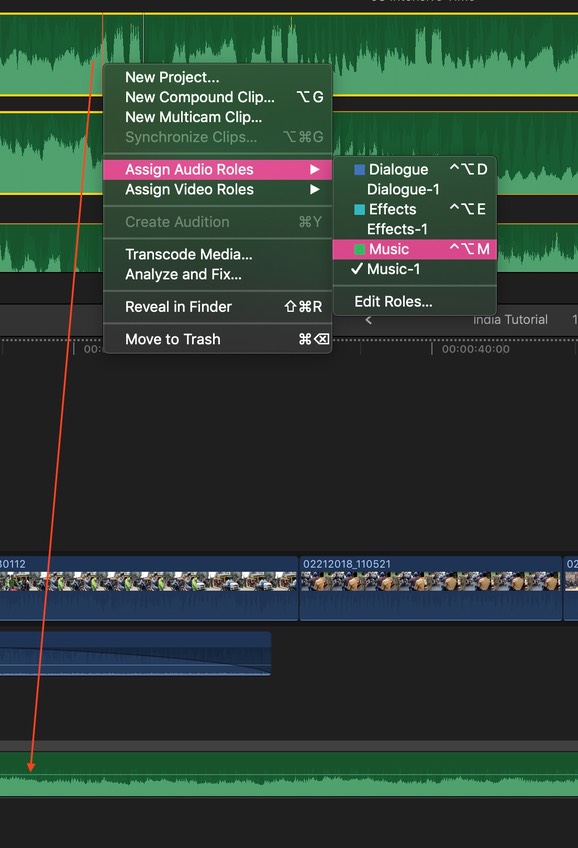
No 2) There is literally no active audio routing in FCPX. So instead you define the audio type of the clips BEFORE editing and they will end up automatically in the right spot in the timeline.
So you mark e.g. ALL music clips with one keystroke in the browser for example as music. They will then be placed in the corresponding music lane in the timeline automatically.
No 3) If you want to insert a gap in the middle of the timeline, just use Alt-W. When being aware of clip connections (see tip 4) no clips are destroyed or cut in the area. You can then trim the gap (and therfore everything behind the gap) as you like.
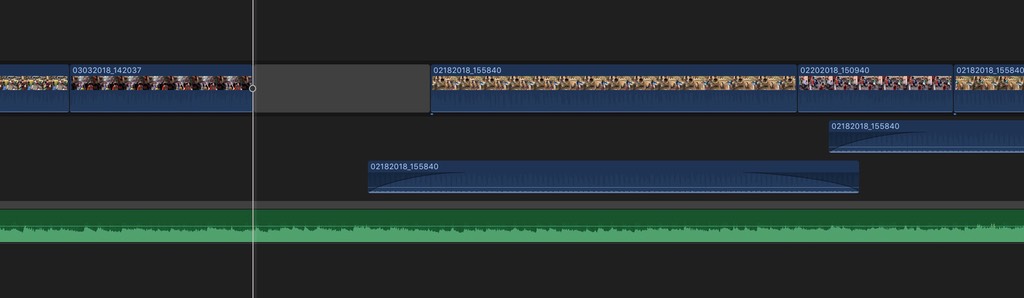
No 4) Because there are no tracks, the clips are connected to the Primary Storyline in a tree structure in the timeline.
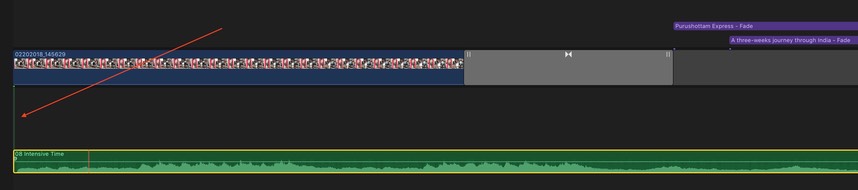
To change that connection of where a clip is connected to another clip (here in the scrrenshot it is a gap clip), just mouse-click the Secondary-Storyline-Clip at the position you want while pressing Alt-Cmd.
No 5) When moving clips from the Primary Storyline then use Alt-Cmd-ArrowUp, so it doesn’t ripple the timeline.

No 6) Use the Secondary Storyline for B-Role with groups of clips. To connect clips as a group as a Secondary Storyline fast, just mark the clips and press Cmd-G. To ungroup use Shift-Cmd-G. The clips that are connected as a Secondary Storyline gain the functionality of the Primary Storyline.
No 7) To shorten/edit a music clip in the timeline musically:
1) group the clip with Cmd-G, then 2) cut the clip with Cmd-B (clip must be selected), then 3) trim and alternatively trim/overlap with expanded audio (Ctrl-S).
Because this is a group of clips, you only have one clip connection.

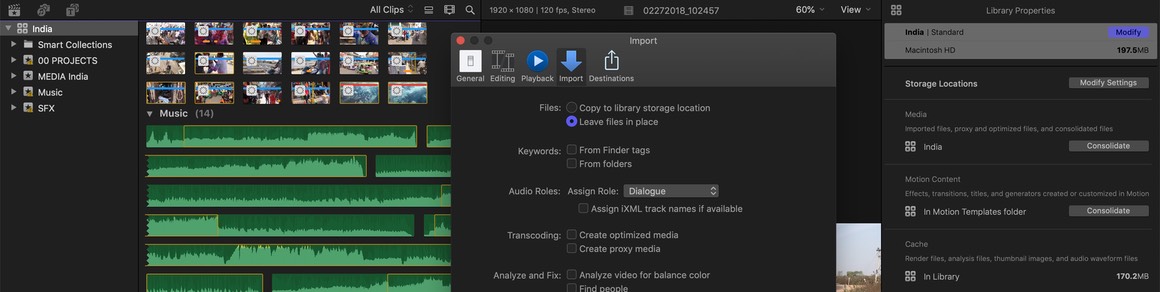
No 8) Manage your media actively.
1) Make one folder on your hard drive for all you footage and manage external files there. 2) In System Prefs in FCPX select “Leave files in place”. 3) Select Library in the browser, then in the Inspector to manage your storage location.
This permits small libraries (projects in MCP) that can be copied, backuped and shared easily.
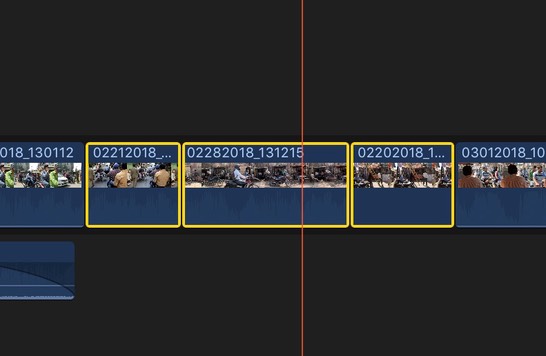
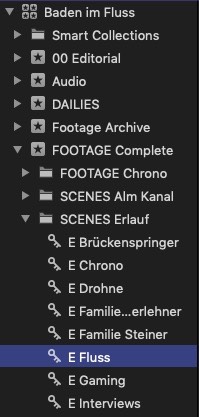
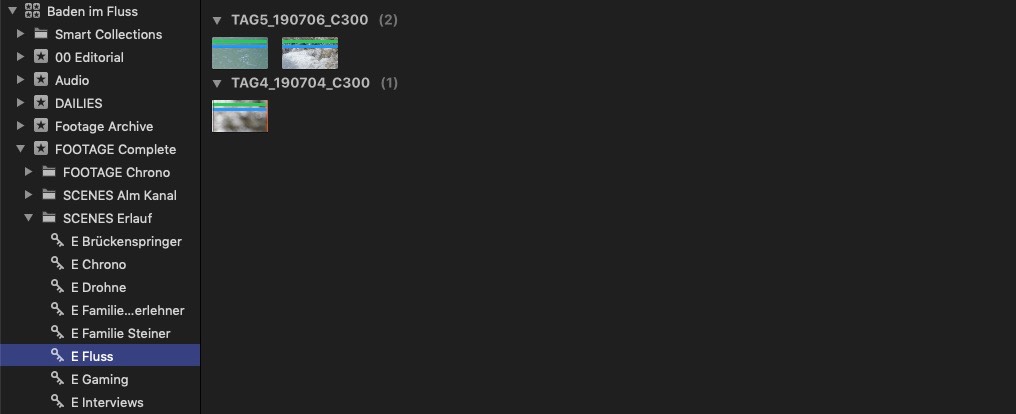
No 9) Bins in Avid could be referred to the Events in FCPX. Further organize and define your footage in the Events (here in my screenshot I only have five) with keywords and keywords in folders which are very flexible to use.
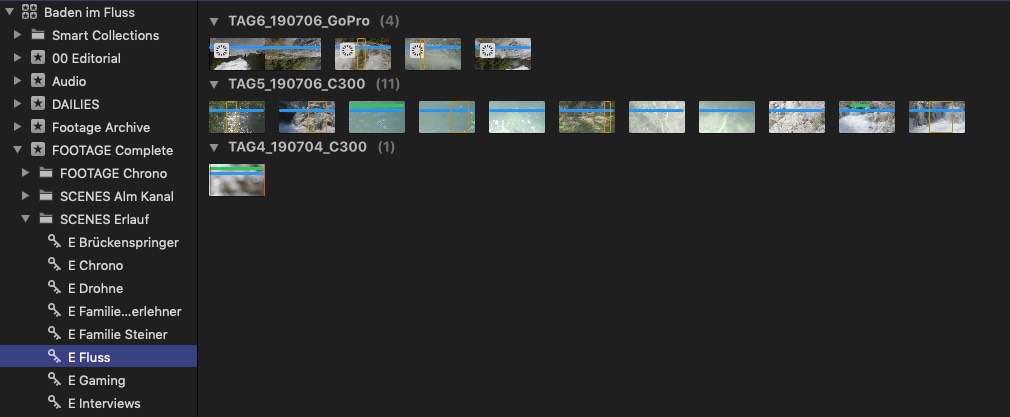
E.g. make 1) keywords for the chronological order of camera cards and 2) a collection for various scenes.
No 10) Instead of making Stringouts of footage in the timeline, rather organize and collect clips making keywords in the browser then (just drag and drop footage on top of a keyword).
To define your collection further mark favorites with I (mark in) O (mark out) and F (Favorites - look for the green line above the clip).
Here the filter is applied with Ctrl-F in the browser.
An FCP X Workflow for Documentaries
I already have many years of experience now with the legacy Final Cut Pro and even more with Avid Media Composer.
I was interested in Final Cut Pro X since it’s introduction in 2011 and I was exploring it ever since. I could well see it’s potential and I was realizing little projects with it here and then. And there were many great new concepts integrated into the software, that were promising in many ways, that I was interested to use on a big broadcast project.
First there is the solid media management foundation, flexible and time saving in many ways.
A new organizing paradigm with great metadata support, although I really didn’t realize in the beginning, how I would benefit from it in the beginning.
And then the new editing experience in the magnetic timeline - the list of interesting features is really long - and all those little things and new concepts sum up to a very new and exiting editing experience.
I knew from the internet community for FCP X that there are some countries that already have a vivid FCP X user base, but not so in Austria, where most companies that produce content for broadcast TV mainly trust on Avid MC.
That, in my own analysis, has two main reasons:
one reason is the big user base of editors who are acquainted to Avid and every film producer knows how important it is to have a big community in order to be able to manage big productions and hold tight deadlines. The second reason for many companies, to stay with Avid is it's strong multi user support. That is true for the software, which may not be perfect in this sense, but is far better when comparing it to other NLE's. And then of course it’s strong proven server solutions, that complete the need of tangling this kind of demanding workflows.
For me as a single individual video editor these two reasons don’t count so much - and when 10.3 was released, I finally had the confidence to dive into FCP X and produce a long 50 min documentary for broadcast with it. For me and for other small film companies the fast turnaround and the flexible workflow possibilities make much more sense to take advantage of - so to go that route was somehow the next logical step.
When managing a big video project, many more aspects come into place than just the assembling of clips in your timeline and then exporting it to Youtube. That’s the reason why I want to describe the challenges along that way, so that other people can evaluate the pros and cons of this new promising tool.
I set up a streamlined process and workflow for me, that is quite easily manageable and helps making use of many of FCP X’s new features later in the editing process and also helps with production management tasks.
The Workflow - Preparation:
I copied the footage onto an external raid first. I like to keep the footage outside the library (leave files in place) in order to keep the library file small and light. This way I can make backups manually and can share libraries fast and easy, if necessary.
I only need 2 folders:
/Libraries/Project 1 (for the library on a fast ssd drive)
and:
/External Media/Media Project 1/Footage (and so forth)
I copy everything by hand into that external media folder - music, footage and so on. Footage is copied there with the “Make Archive” command, if possible.
Only afterwards I import everything into FCP X from there. In this manner I have full control of the process and everything is organized tight in one place for later archiving.
I imported all Camera Cards as single events together with the external recorded Audio files named after the Camera Card and date. That enabled me to keep track of all the footage and that way assure myself, that I didn’t miss anything.
Then I had to set up a workflow to export the dailies to do the transcription of the interviews.
It was critical that all the daily shoot camera cards keep the original timecode in order that the director can refer to the correct timecode later while editing.
I just assembled separate stringouts of the footage and then pasted a customized timecode effect onto the clips, which can be done very easily now with the “paste attributes” command now. I then exported quicktime movies of the stringouts.
Also I had to sync all the external audio with Sync-N-Link X, because it’s still not possible to sync external audio in an effective way inside of FCP X the way I need it. Before the Sync-N-Link X - Turnaround I assigned rolls for camera footage and external audio. That way I can keep track of my audio signals easily later in the editing process and - even more important - make life easier for the audio engineer later in the audio post production. Sync-N-Link X creates new events after the reimport of the synced footage, which I can manage then easily and keep track of all the footage.
I also assigned roles for music and sfx.
And I set a seperate role for interviews. That collides with my earlier decision of assigning roles for camera vs. external audio, but gives me fine visual feedback of my interview clips in the timeline, which is important to have in documentaries. Also that way interview audio files can be treated separately later in Audio Post.
I also found it very useful to set extra roles for archive footage from other companies, photographs and stock footage. That way I have always an oversight of cost and can always export xls-files (with Producer’s best friend) to enable the producer to adjust the budget of the project at any time in the process, if necessary. That alone, for example, makes using FCP X a joy and is a real time savor, especially in productions when using tons of external archive footage.
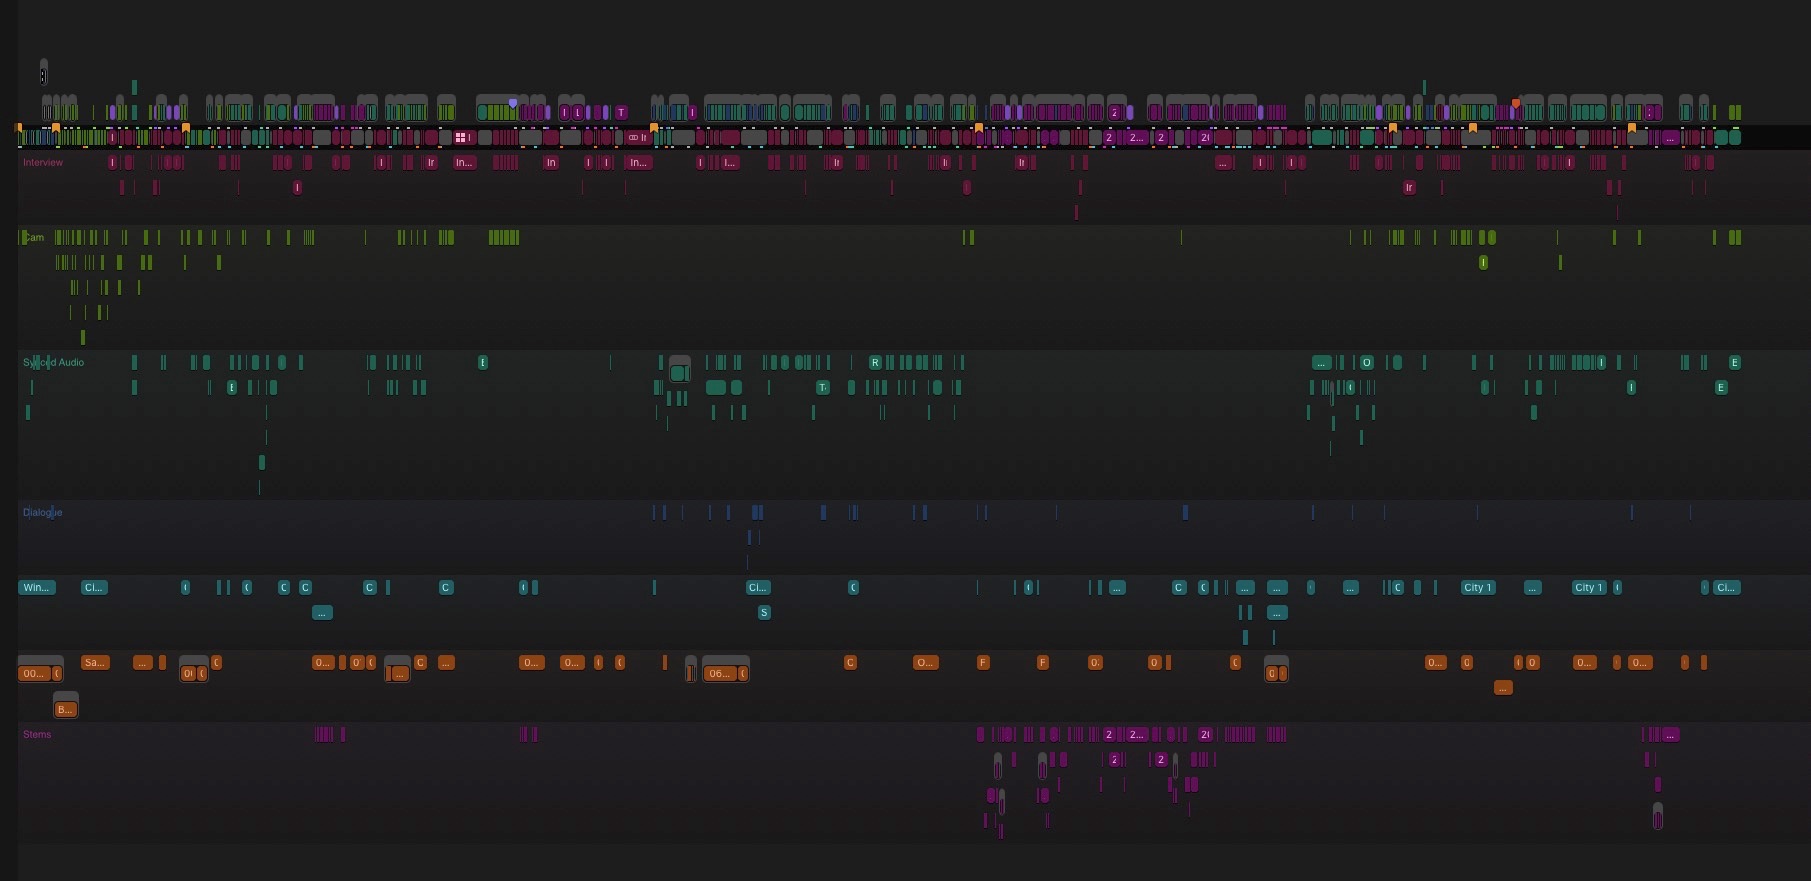
Roles colors are set as: Interview (red), Camera Audio and External Audio (green), SFX (cyan), Music (orange), Stems (already mixed stems from Archive Footage).
I don’t see much of a big advantage of organizing footage in events - beside from having it a little bit more transparent and logical structure. But, later in the editing process, I want to keyword everything - and keywords don’t work across multiple events.
That’s why I copied all the footage from all the synced and reimported events into one main "SHOOT Complete" - Event. Before I made keywords of the synced and prepared clips of every event - named after the same event name. Because keywords are copied as well when I copy the clips to a new event, I then can easily collect all my footage in a single event with all the corresponding keywords.
I collect all those keywords in a folder “SHOOT BY DAYS”, that also represent a chronological order of my complete shoot.
From there I then create keywords for all different editing sessions and story outlines during the editing process and mostly on the fly. I also collect all the interviews in a folder and in separate keywords, because I would need to refer to those quite often.
Further I have separate events for music and projects - hence the actual assembled timelines.
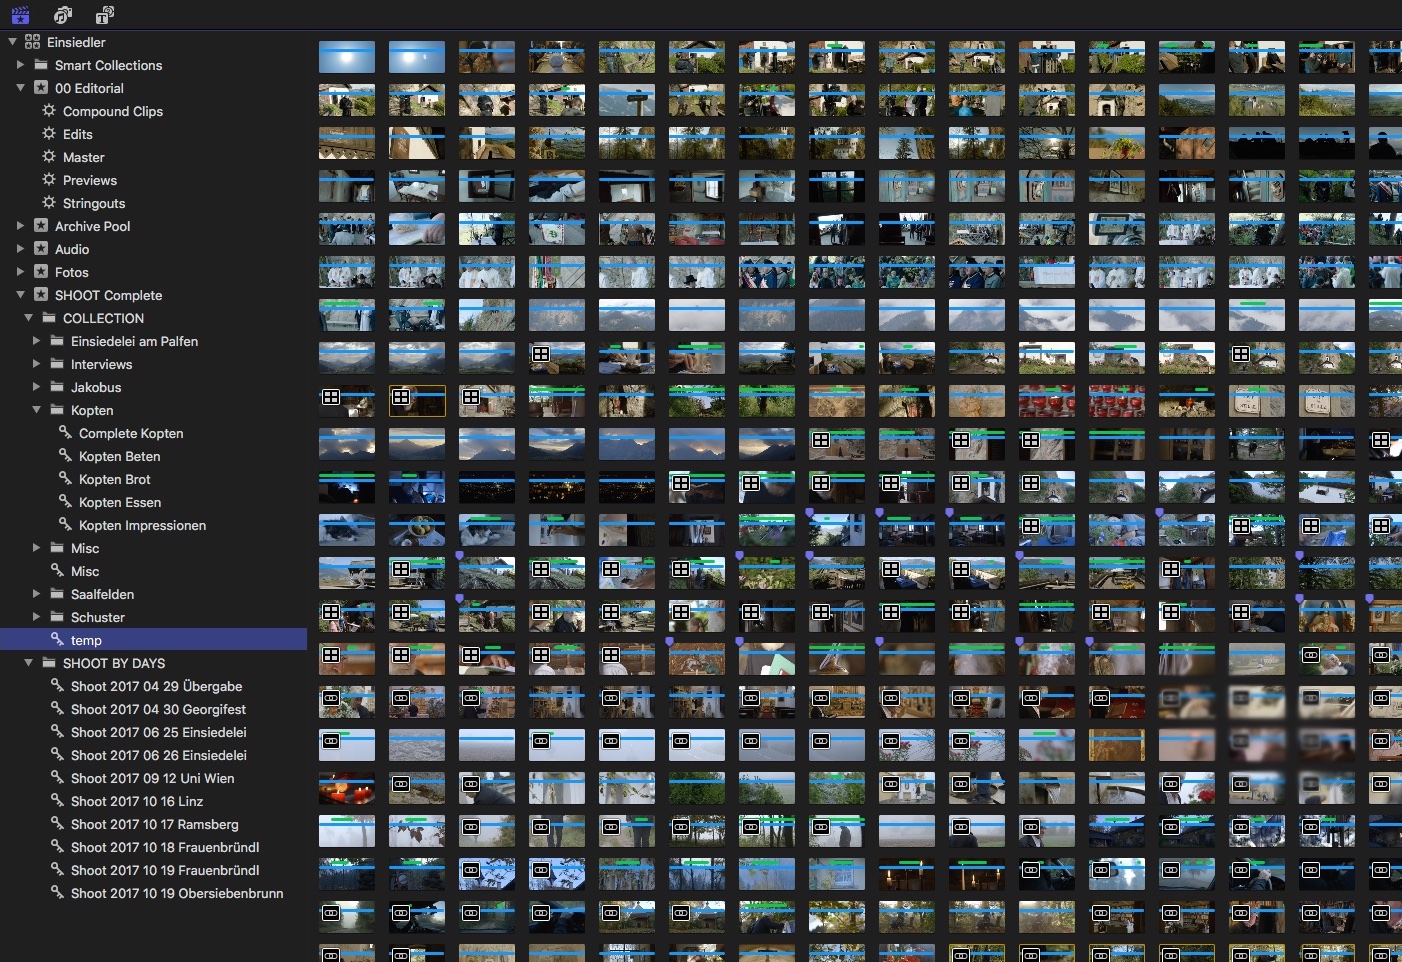
As I do backups of libraries and projects every day, so I then deleted all those separate (duplicate) events, that I before copied over into my new main Shoot event. I don't need those any more and I want to keep my library as light and simple as possible, but can always refer to them in a backup later, if necessary.
The Editing Process:
A lot has already been written about the editing process in FCP X. Therefore I want to keep it simple.
Some of the new editing features in FCP X are easily applicable and it’s true if you say that many tasks go much faster then in other NLEs. But although there are many tasks that can’t be executed with ease and can be explained to a newbee in five minutes, there are quite compex editing tasks, that can only be executed with the knowledge of a specialized arsenal of specific shortcuts, that have to be learned and customized for the keyboard in quite a timeconsuming process.
Especially working in a secondary storyline sometimes can be a little bit cumbersome, also because the primary storyline is always somehow privileged and has it’s own set of rules. Only the knowledge of these specialized shortcuts enable you to be fast and flexible - and you can’t help using the mouse more often then. But those hurdles of course are something that professionals are destined for to overcome anyway.
Besides that the working experience is nearly always faster then in other NLEs, once You are accustomed to FCP X’s new tools and paradigms.
A complete ingest-to-finish full video quality workflow, no more complicated audio rooting,
doing more with less clicks, easy splicing-in and rearranging, new organizing possibilities and so forth -
all things that make working and editing much more fun!
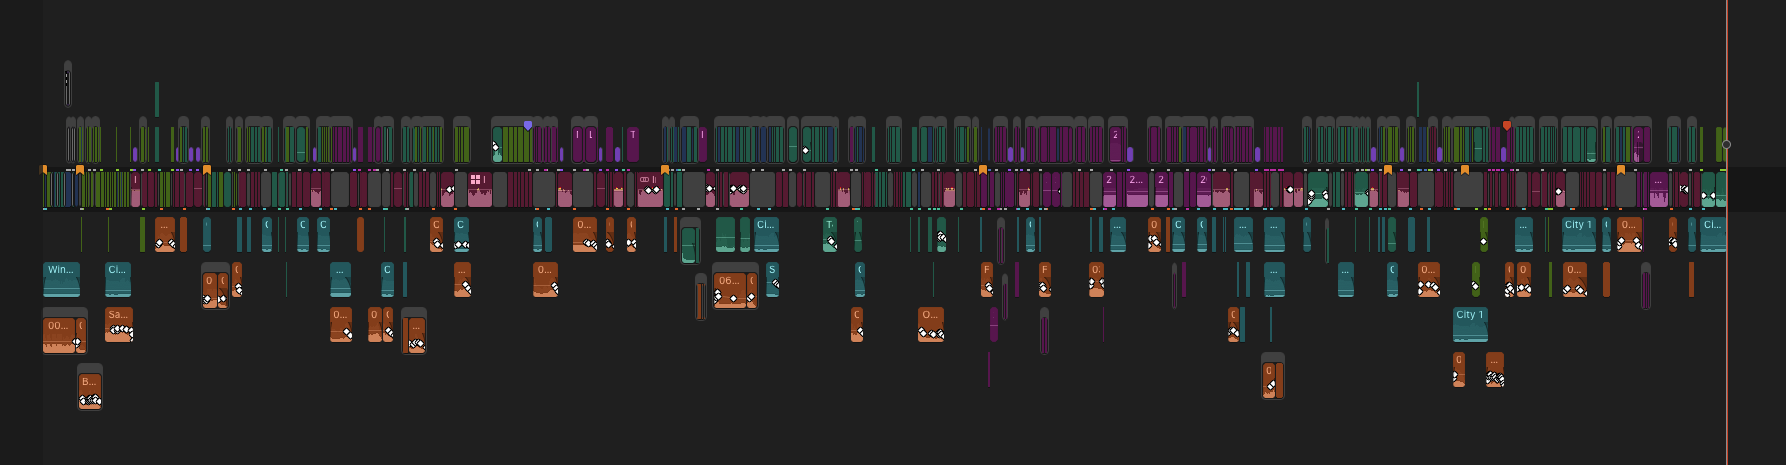
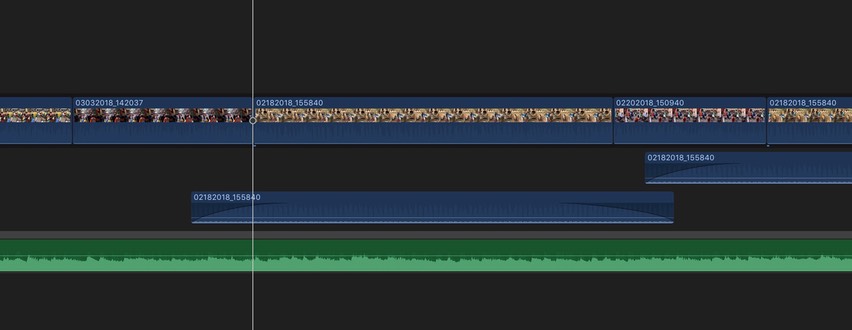
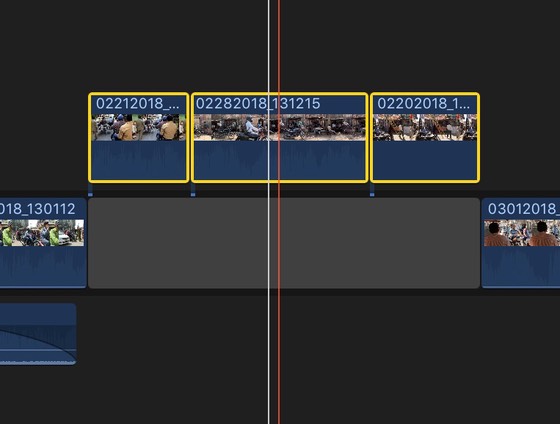
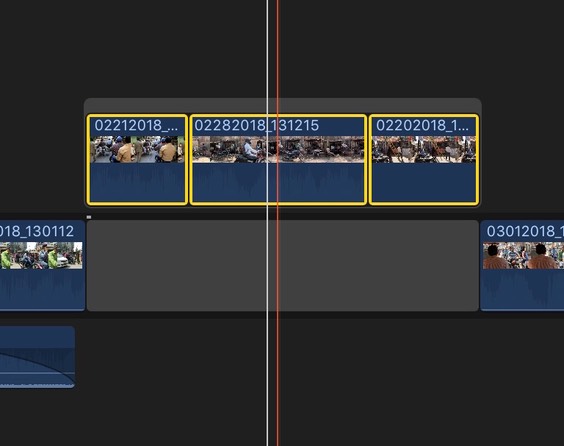
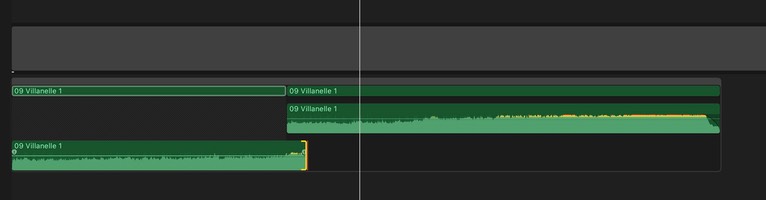
As you can see here, I use heavilly the concept of multiple storylines, becaue documentaries often develop at least to layers of stories at the same time. Interviews in red and (most) B-Roll in green. External archive footage is purple.
The Finishing Process:
After the editing sessions I did the turnover to postproduction, which was quite simple, actually. Now with Version 10.4 I would not hesitate to do the colorgrading in FCP X as well.
For colorgrading I exported a master-prores-file. The advantage of doing it this way is, that all the effects that I already backed in, would come over to DaVinci Resolve and no conforming problems pop up, especially with DaVinci’s superb edit-detection feature.
Turnover to Protools was no problem either (X-2-Pro), although I recommend doing a little test in advance to avoid misunderstandings and to be be sure everything works as expected. You also want to confirm that all the pre-adjusted roles come over as expected.
The final finishing and playout-master in mxf-format was done in Avid MC later for organizational reasons, but I would not hesitate to do it in FCP X any time, if necessary.
Music-Sheet and video-editing-lists were exported via xml as an xls-file (Producer’s best friend) with little time to rework afterwards for the producer.